I'm on a blog hop today with some of my
Stencil Girl peeps. And if you've hopped along from the Stencil Girl Talk blog - congratulations! you're almost done.
We're
seeing how foam board and stencils can play
together. I have to admit that when I first received my two big sheets of foam board from
Foam Board Express, I wasn't sure what to do with them.
But it turns out that the internet is full of great ideas, which I adapted for these two projects.
And the best news is that this blog hop has a
GIVEAWAY from both Foam Board and Stencil Girl! Read on to find out all about it.
My first project was a muslin covered "canvas."

Using an exact knife and a metal ruler, I cut one of my foam boards into an 11 x 12 rectangle.
I lay down a piece of sheer muslin that was a little bigger than my board.
Using
Xyron's super tacky double stick tape, I folded my fabric around my board so it was nice and tight, and then used a staple gun to tack it in place.
I mixed mica powder, gold paint and modeling glass bead gel and scraped it through
the Hebrew Calligraphy and Hamsa stencil using a palette spatula.
I made another concoction with glass bead gel, Crimson paint and silver mica powder and scraped that through
my Borders stencil. I added shading to the Hebrew letters, and washed some purple along the top and bottom, some burnt sienna in the middle, and some crimson around the Hamsa. I went back in with gold paint to shine up the letters.
This stencil contains a prayer from
Numbers, called The Priestly Blessing:
May God bless you and keep you.
May God cause the divine light to shine upon you and be gracious to you.
May God turn toward you, and grant you peace.
I intend to ship this piece to my cousin, who is battling cancer. The foam board is a perfect substrate, because it is lightweight and will be easy to ship.

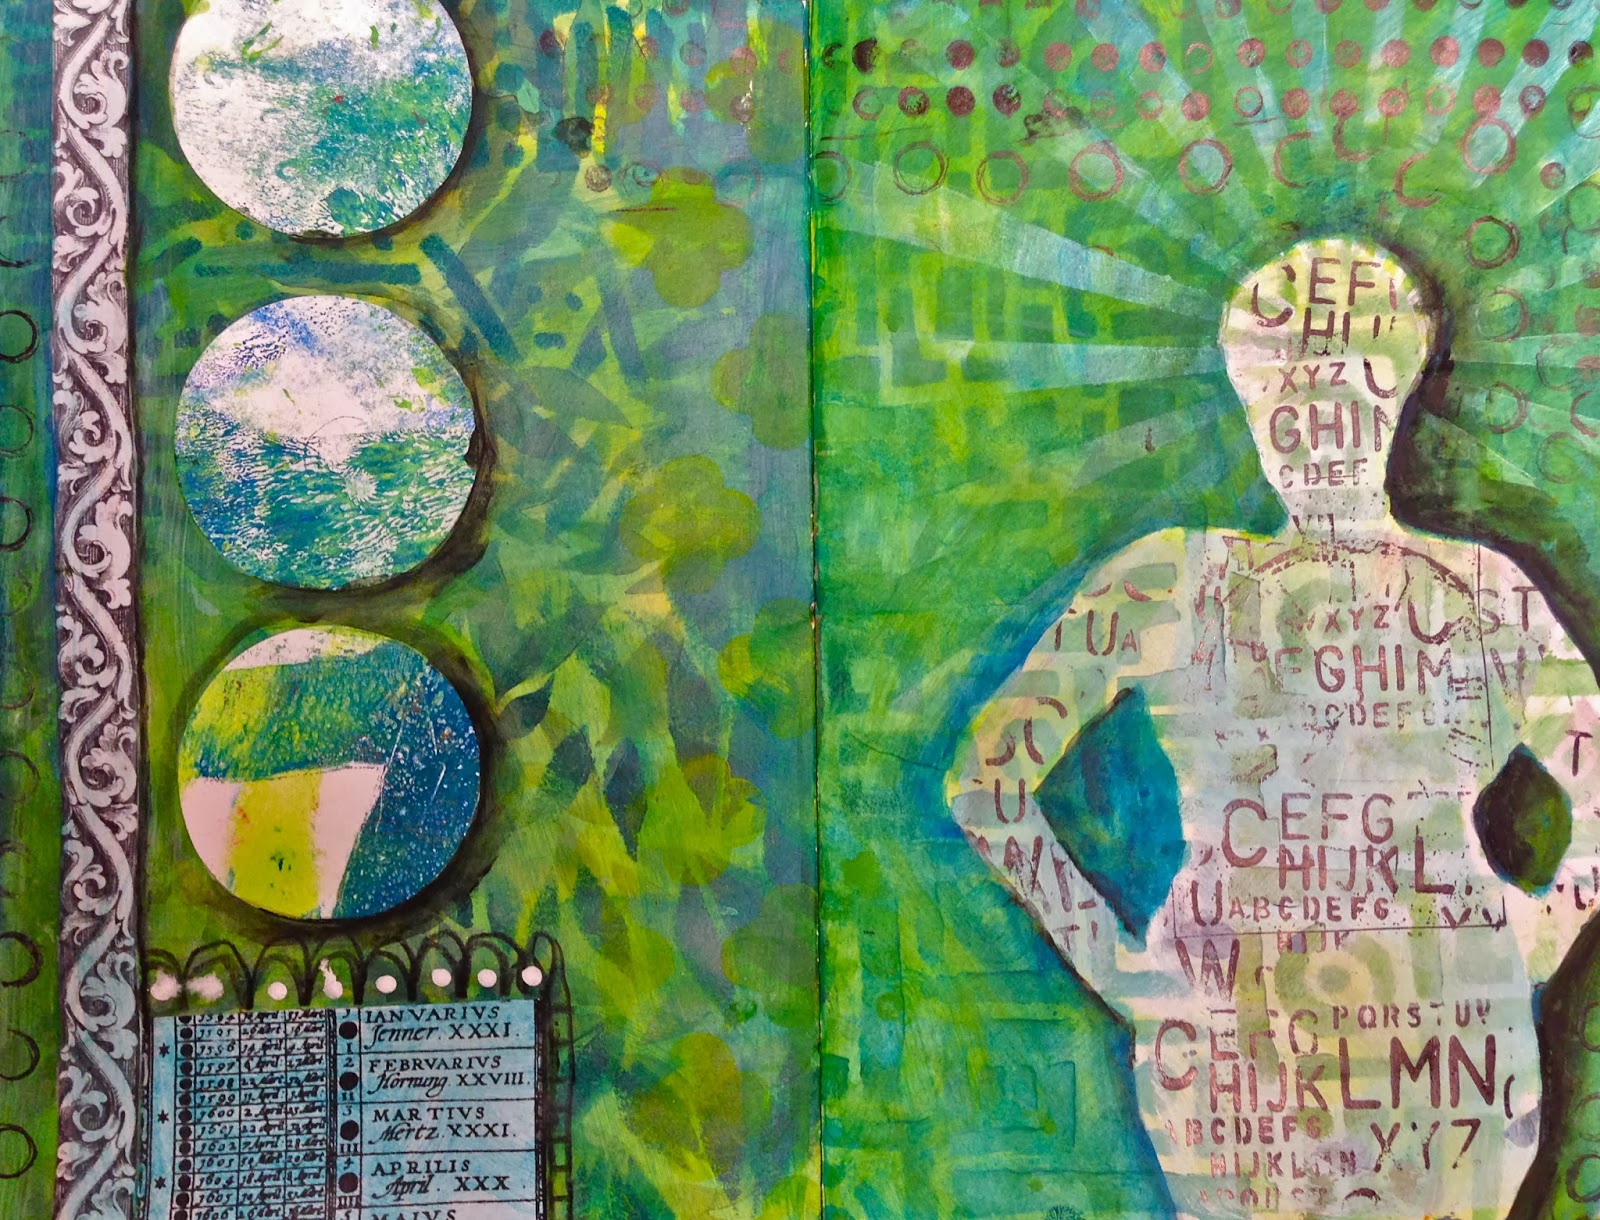
Project II: My second project was inspired by
this tutorial for using foam board for a mobile. Because it is so light weight, it is a perfect substrate. I started by cutting out various shapes of foam board. My cat got into the act!

But in the end, I had a variety of shapes. Choosing the rectangles, I covered them with book pages and a light wash of gesso, and then stenciled them with gold paint.

The gold wasn't "blingy" enough for me, so I went to one of my favorite techniques - stenciling onto tissue paper. I was using my Medallions stencil (as yet to be released!),

and
Maria McGuire's Greek Borders stencil.

I stamped words on the tissue paper as well, and then adhered the paper onto the forms (which I had glazed with different colors of acrylic paint mixed with glazing medium).
I raided my stash for beads and other found objects, including ceramic pieces from parts of a mobile made ages ago by my grandmother. I used the same stencils to add some more colors to the shapes, and then strung them together, using my awl to pierce holes through the foam board (so easy!) for my needle.
I hope you enjoyed these projects, and that you'll check out what all the other creatives are up to! Here's the blog hop order:

Here's the info for the GIVEAWAY (it ends Thursday, November 14th @ 11:59PM Central Time)
Foam Board Express is offering a package of five of its 20-inch by 30-inch flat display foam boards, including one black foam board, one white foam board and three additional foam board sheets in colors chosen by the winner. Color choices include: green, red, yellow, dark blue, neon yellow, neon orange and neon pink.
Check out Foam Board's facebook page for more great ideas!
and
StencilGirl is giving away: Mary Beth's new DVD called: StencilGirl Mixed Media Sampler Journal.
All comments on all blogs are eligible. The combined prize going to one lucky winner. So get commenting!
Please know that I really appreciate your comments and will answer any questions as quickly as I can.